Support
We are committed to providing our users with the best possible experience with our products and are determined to offer quick and friendly support in case of a problem.
There's a chance your issue might already be documented. Before reaching us, please read our FAQs below.
If you want to message us for any other reason, please use this page instead.

General FAQ

We accept Visa, Mastercard, American Express via Stripe. We also use PayPal and Apple Pay.
Your download links are sent to your email address, as well as your receipt.
There's no user account feature on our website, so please keep your emails for downloading your purchased products again.
If you can't find these emails, please send us a message..
We've set a limit to 3 downloads per purchased product.
Just message us so we can reset your downloads.
After your purchase is processed, you get your download links, in your internet browser as well as in an automated email.
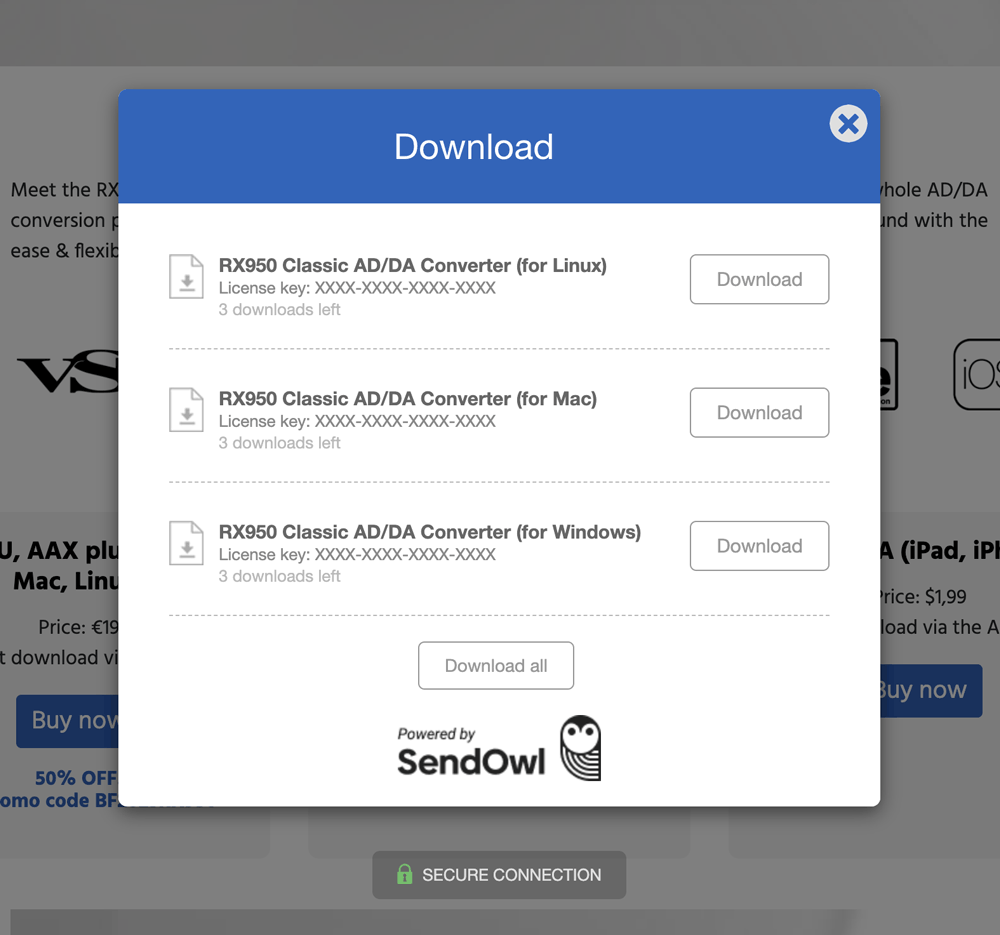
Click the Mac download link and save the installer file into your hard drive's Downloads folder.
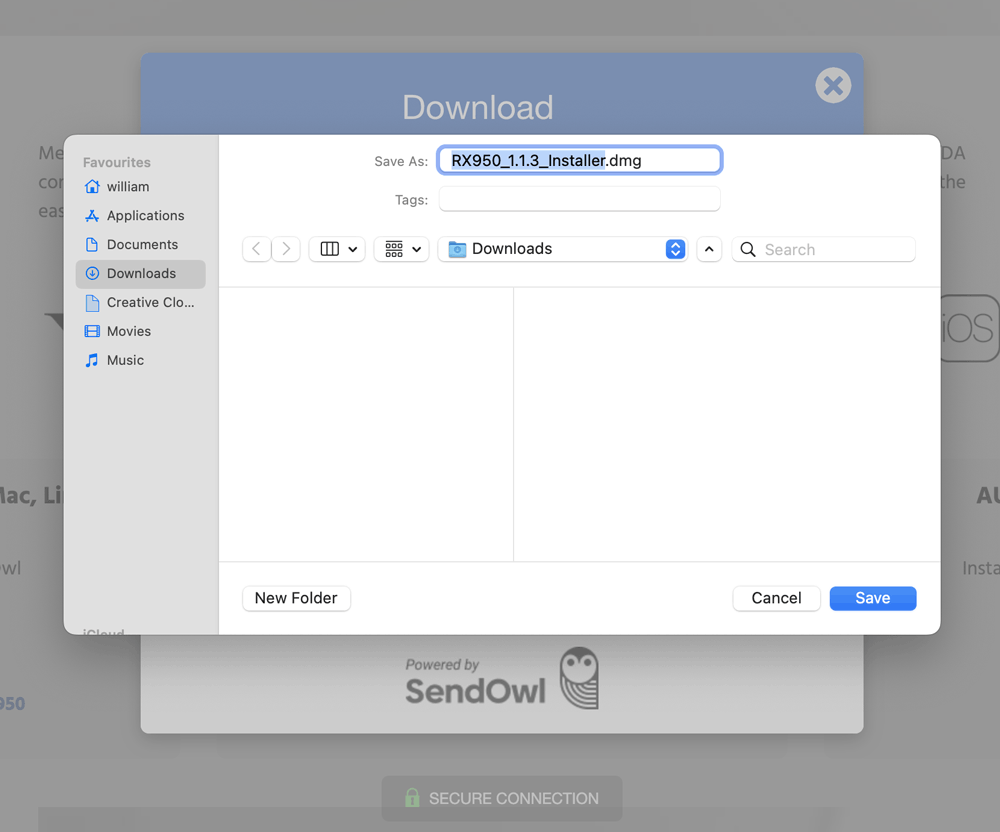
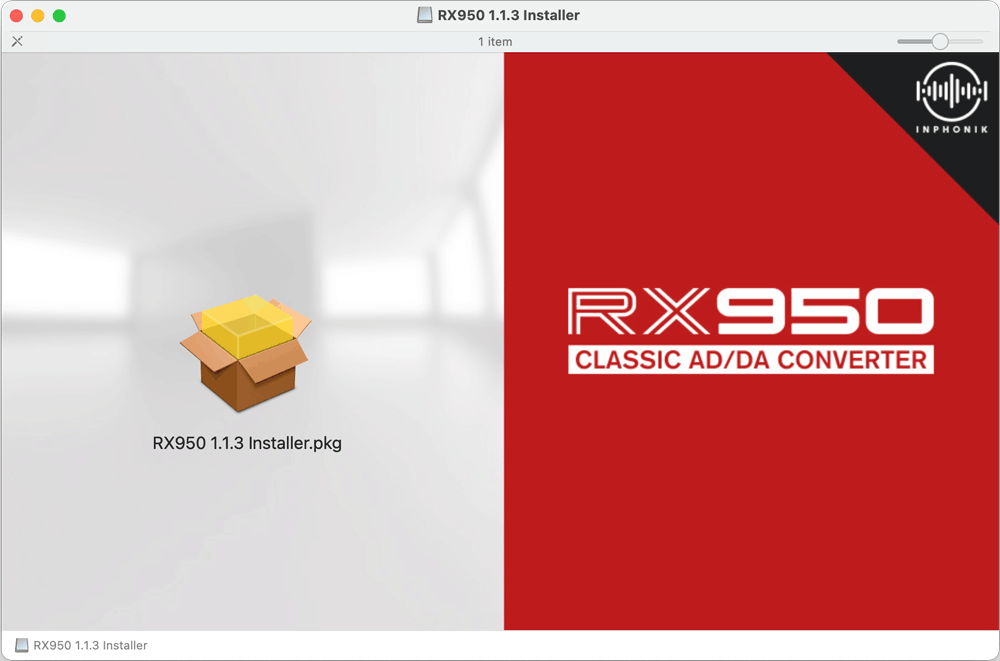
In the Download folder, double-click the .dmg file you've just downloaded. In the new window that was opened, double-click the .pkg installer program.
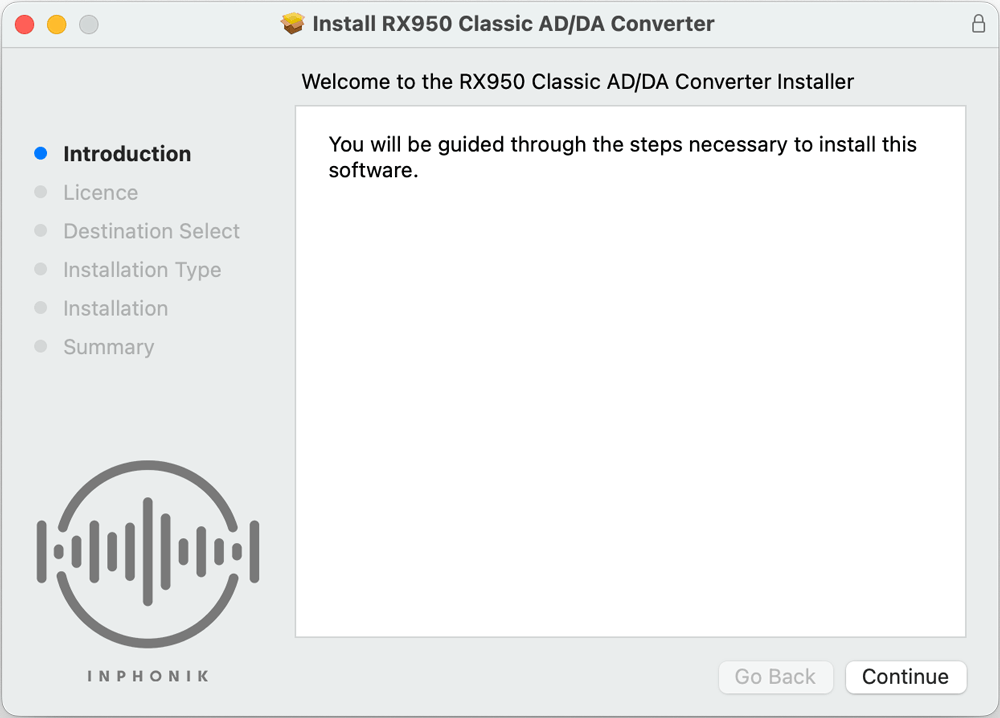
In the installer program, you'll have to click Continue several times.
In Installation type, click Install to install all plug-in formats. If you want to select the plug-in formats you'll use, click Customise.
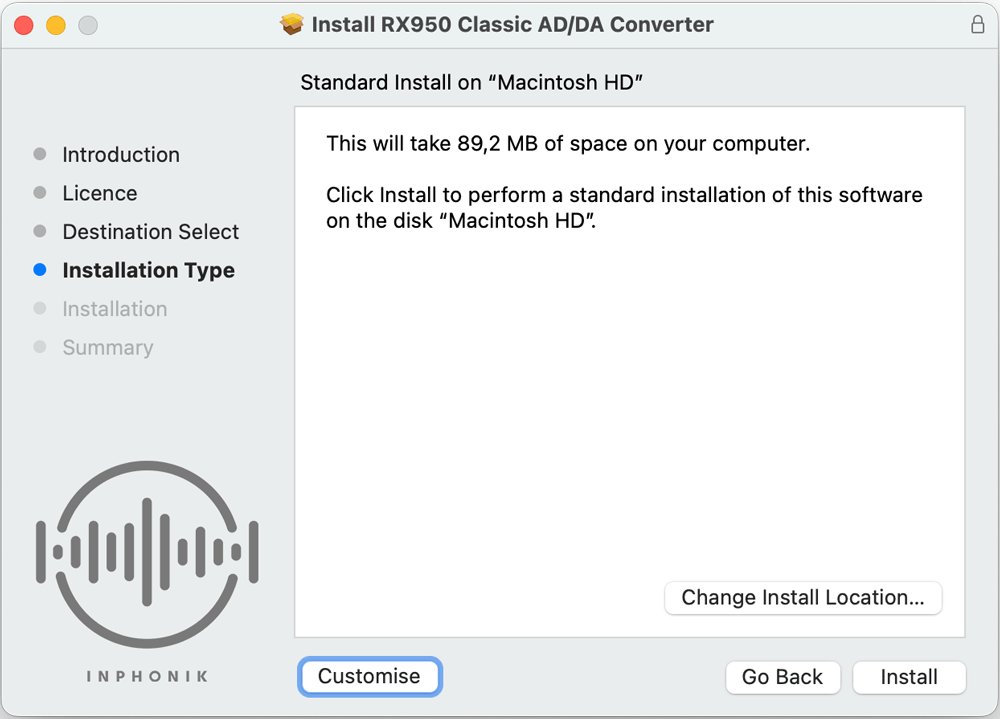
Select the plug-in formats you want to use. If you don't know, check everything and click Install.
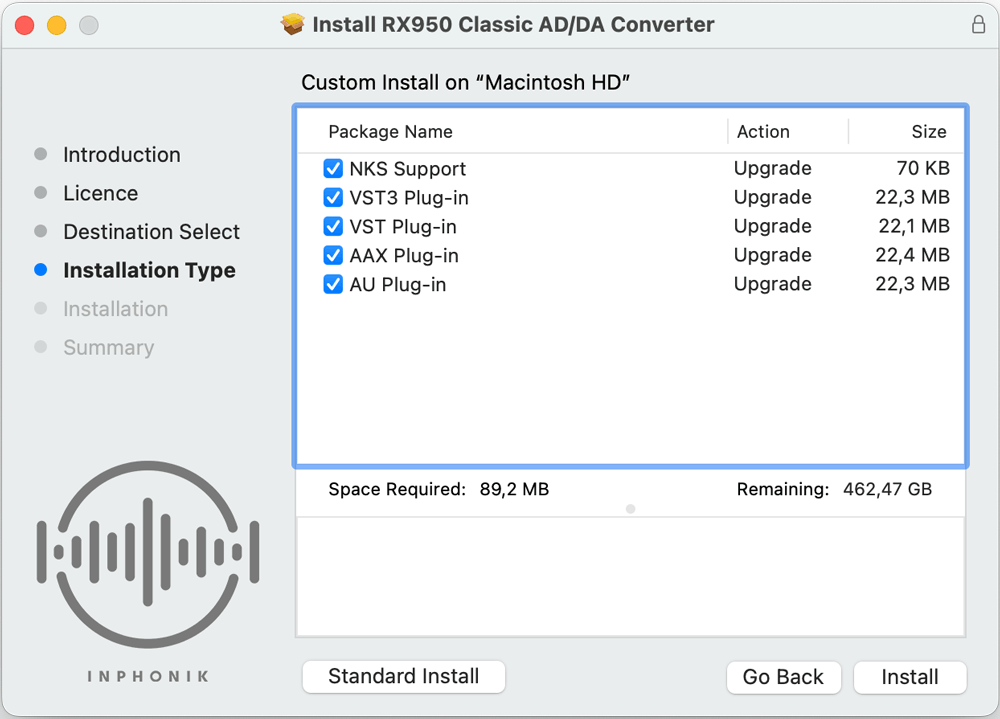
Congratulations! The installation was successful.
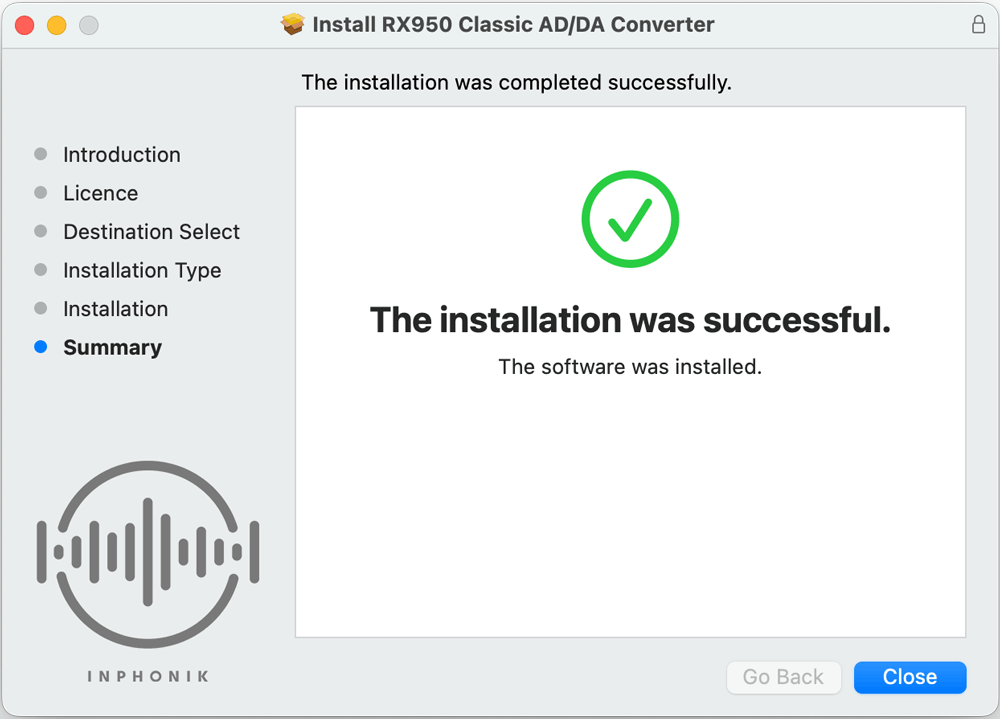
Our products are audio plug-ins. It means that they can't be operated as standalone programs. You'll be able to use our plug-ins from a Digital Audio Workstation (DAW) program like Ableton Live, FL Studio, Logic Pro, Pro Tools, Garageband, Reaper, Studio One, Cubase, Digital Performer, and many more! If the concept of DAWs and plug-ins is still obscure, please watch this tutorial video.
After your purchase is processed, you get your download links, in your internet browser as well as in an automated email.

Click the Windows download link and open the downloaded file from your browser's downloads popup window. You can also run the downloaded installer program from your Downloads folder.
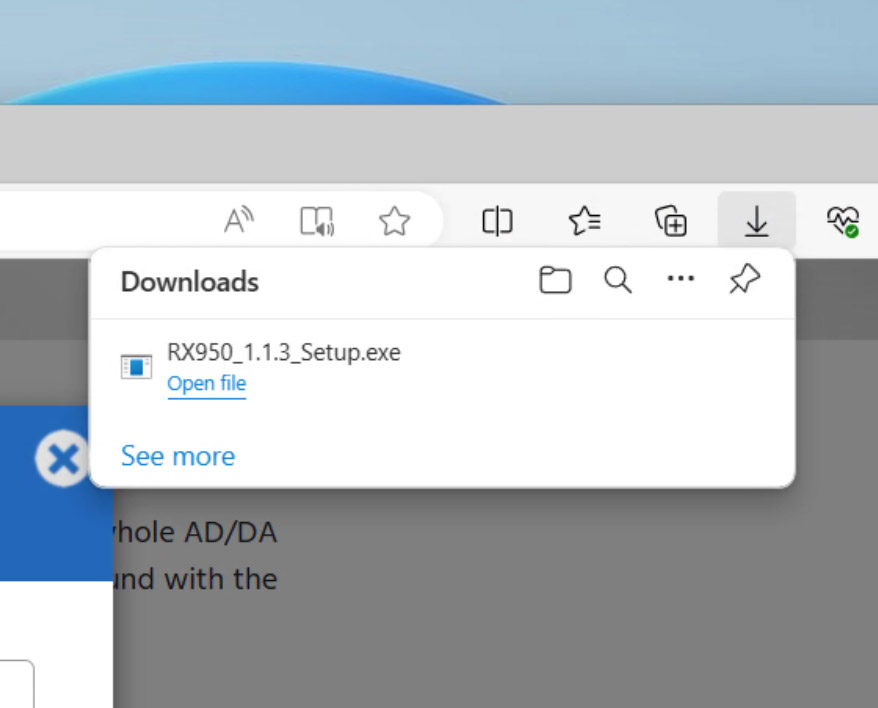
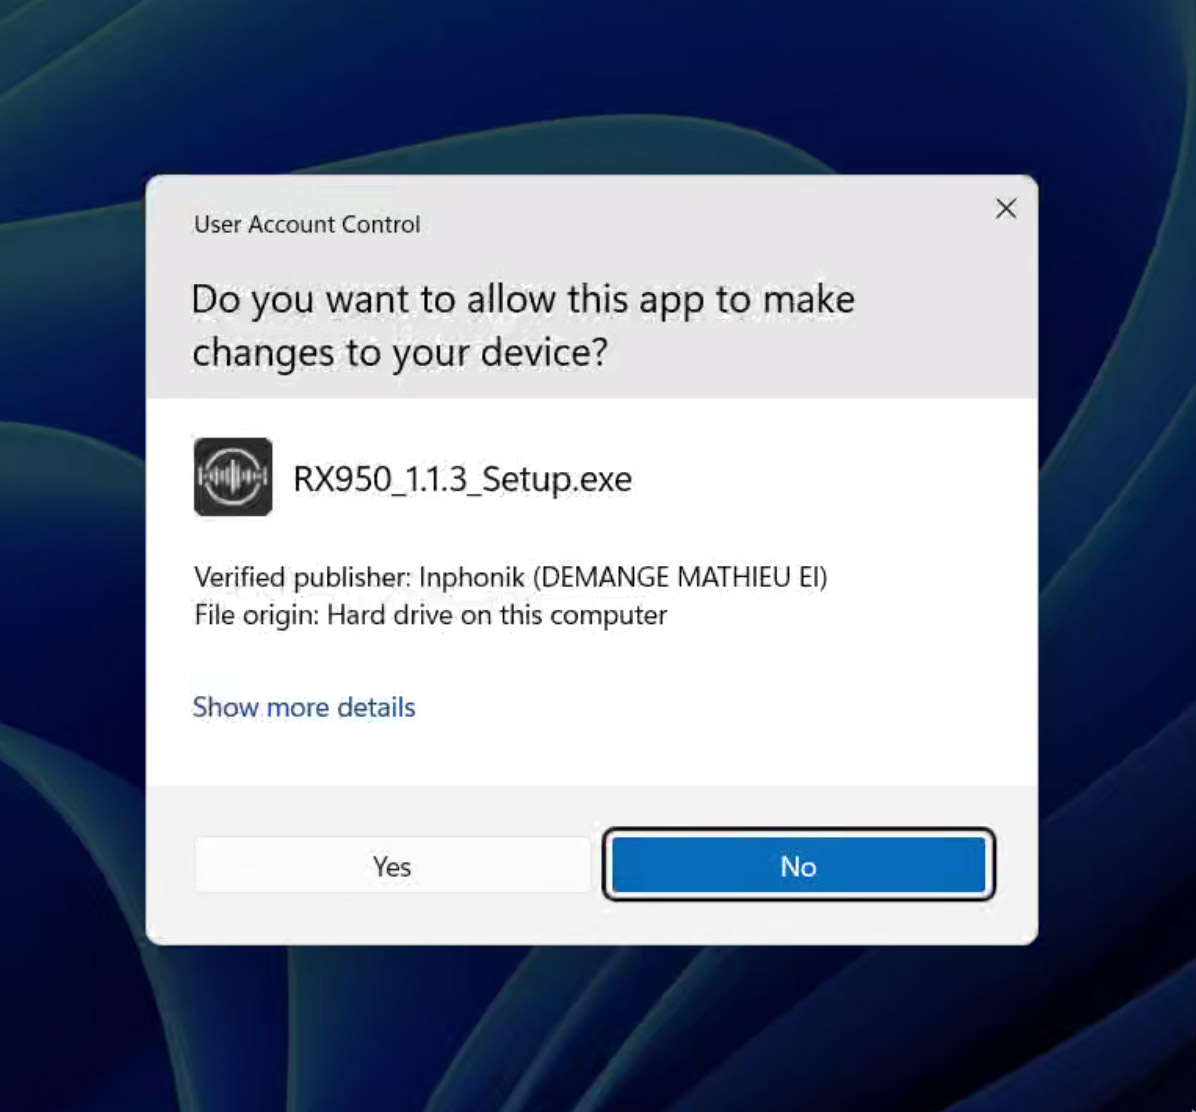
Windows wants to make sure you know what you're doing. Click Yes.
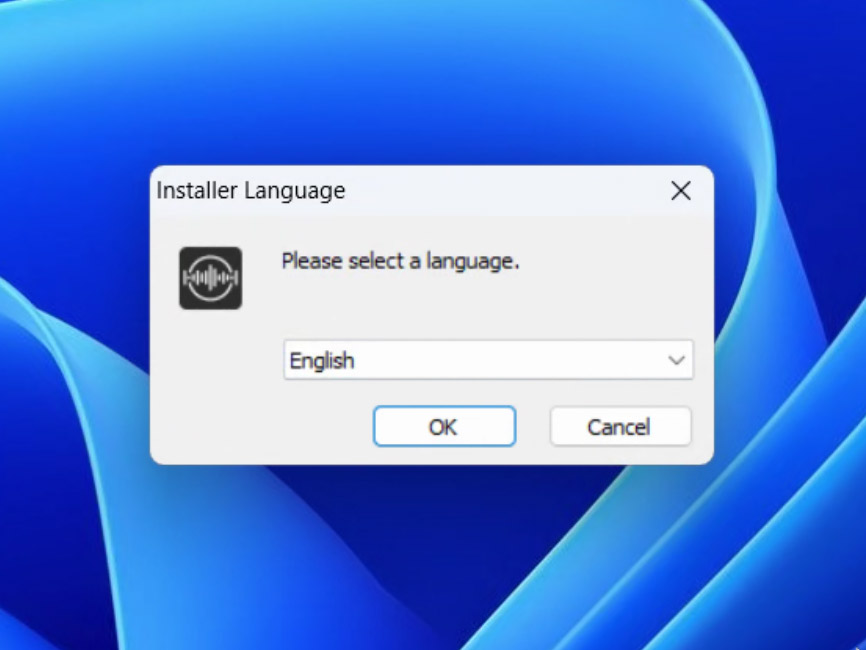
Select your language and click OK.
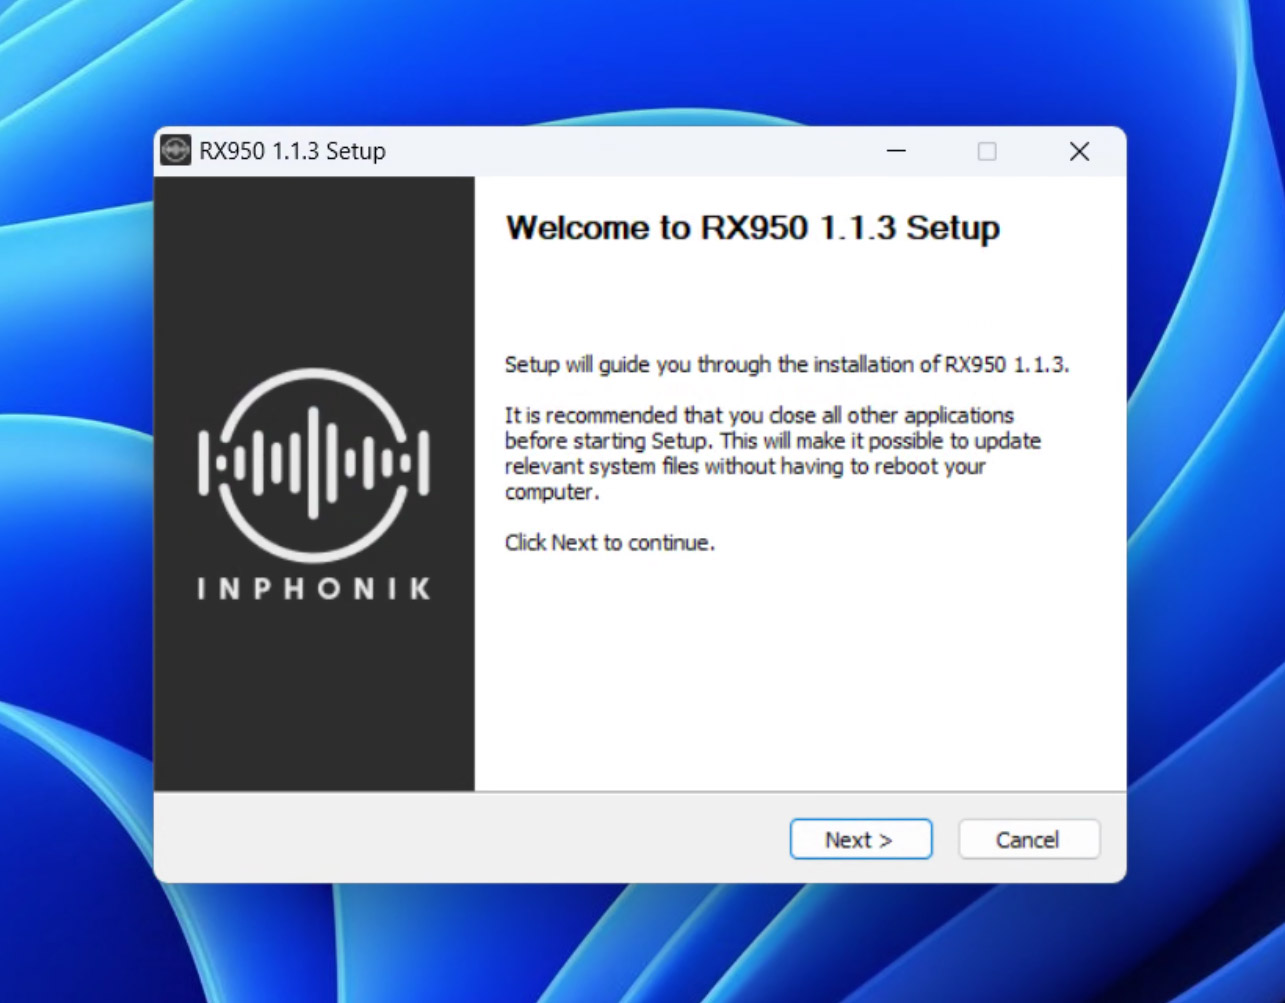
As with many Windows installer programs, you'll have to click on Next several times.
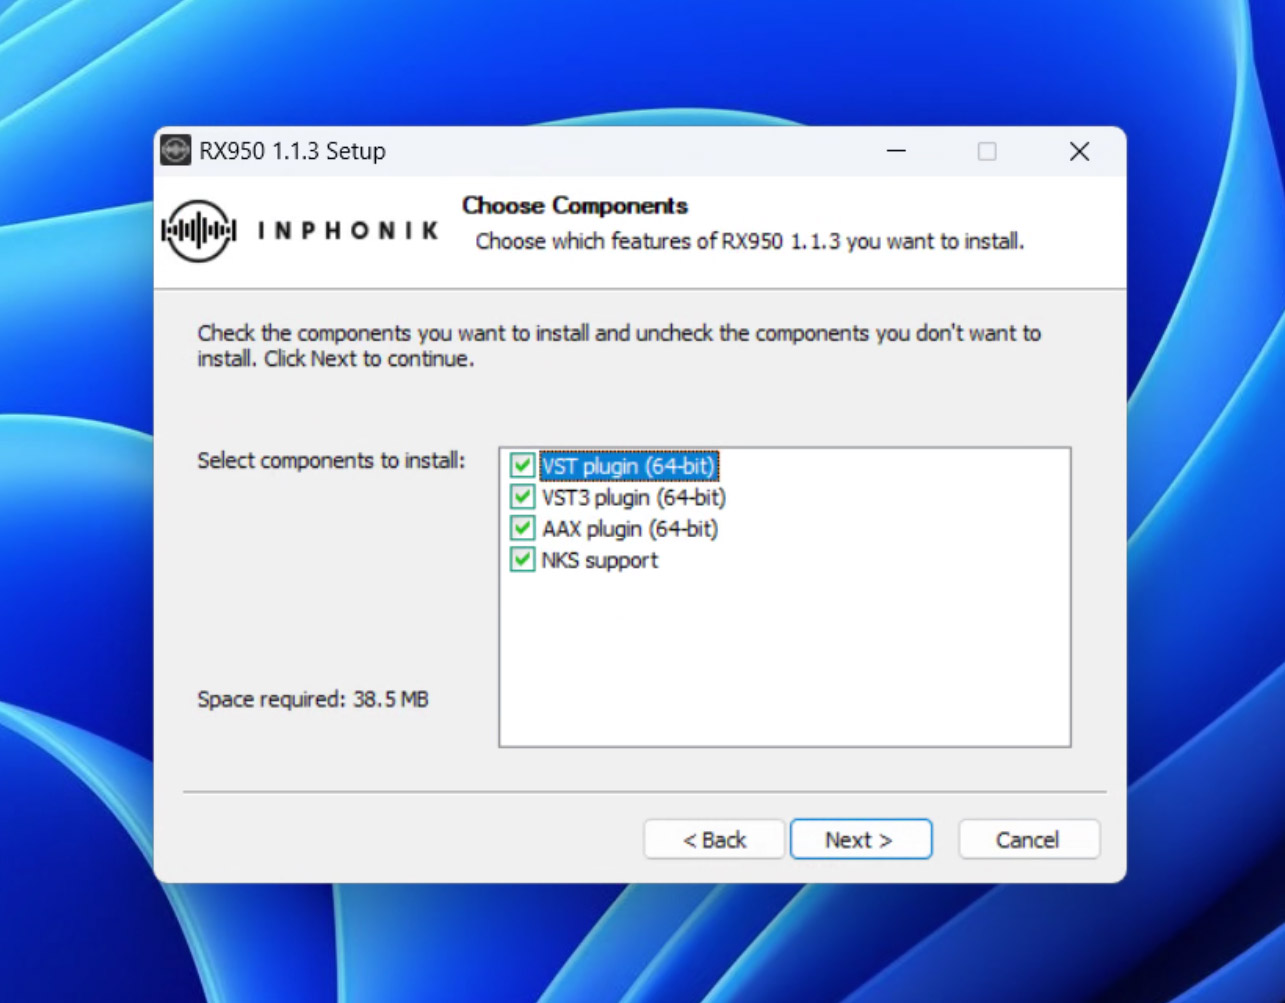
Select the plug-in formats you want to use. If you don't know, check everything and click Next.
Select the 64-bit VST folder all your other plug-ins are installed, then click Next. You can leave it as it is if you haven't set a custom VST path.
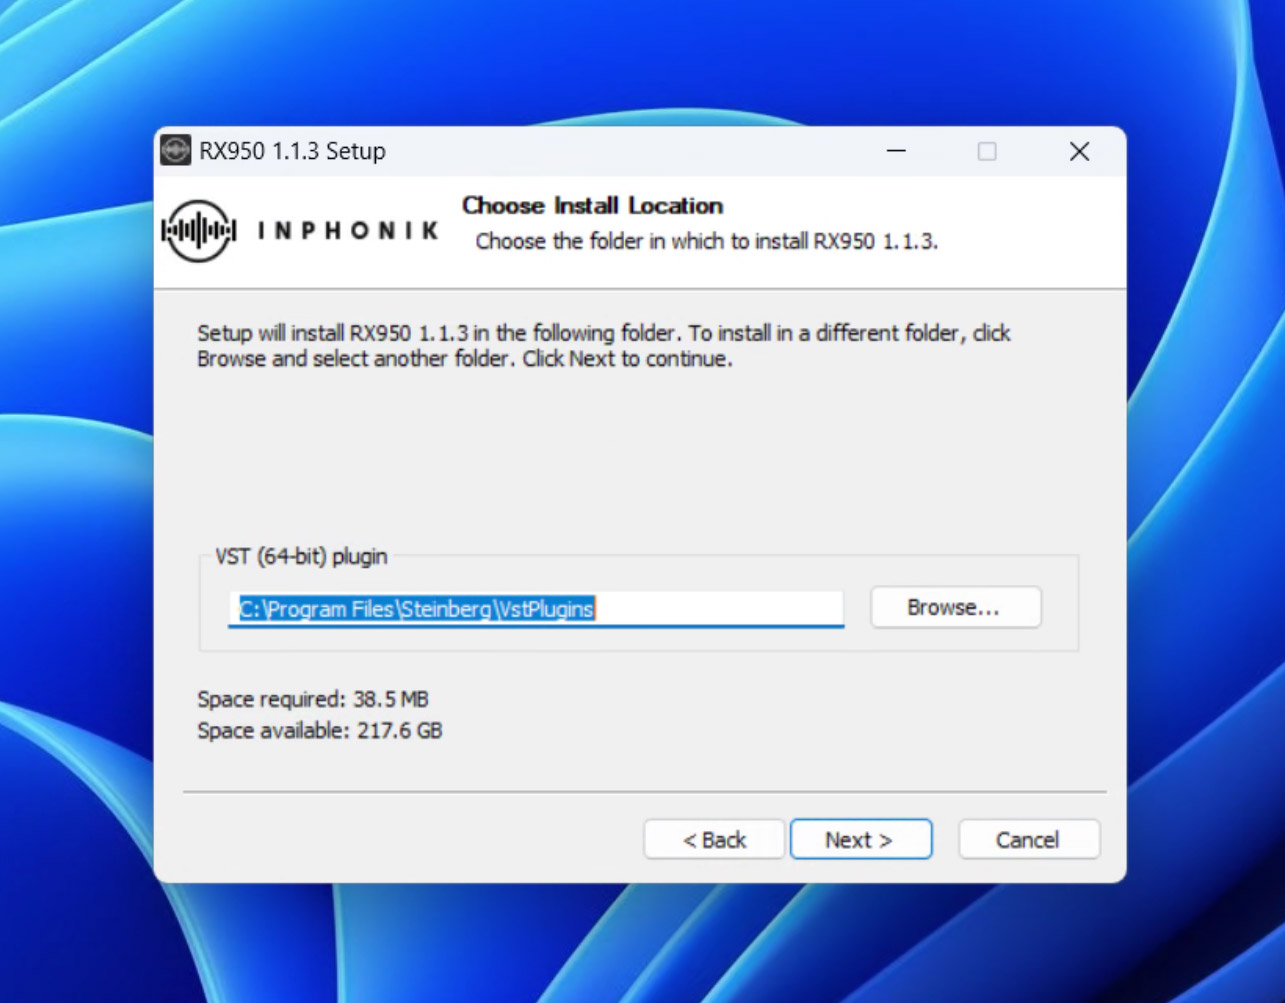
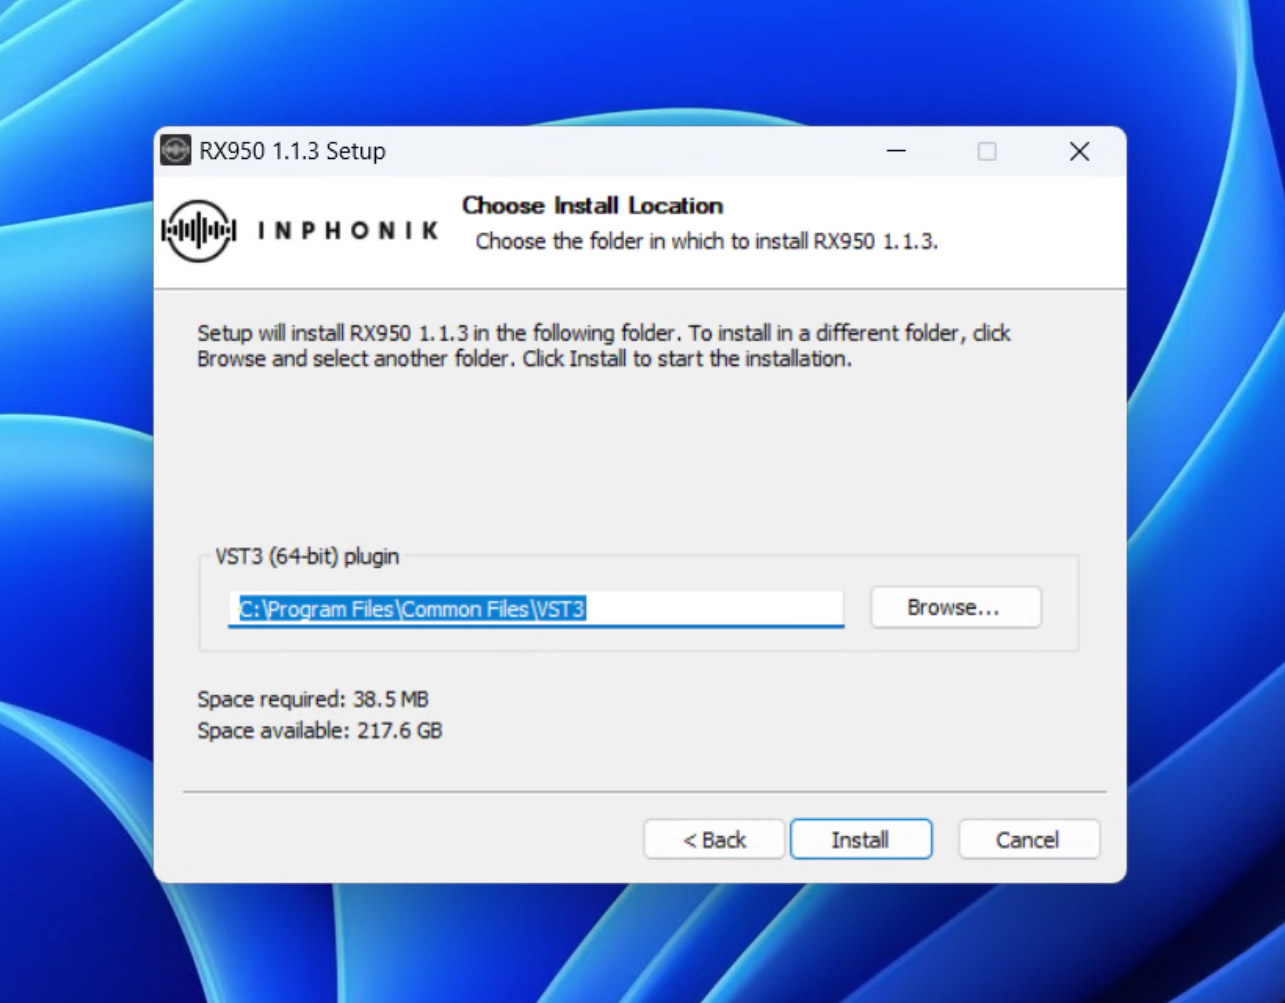
Select the 64-bit VST3 folder all your other plug-ins are installed, then click Next. You can leave it as it is if you haven't set a custom VST3 path.
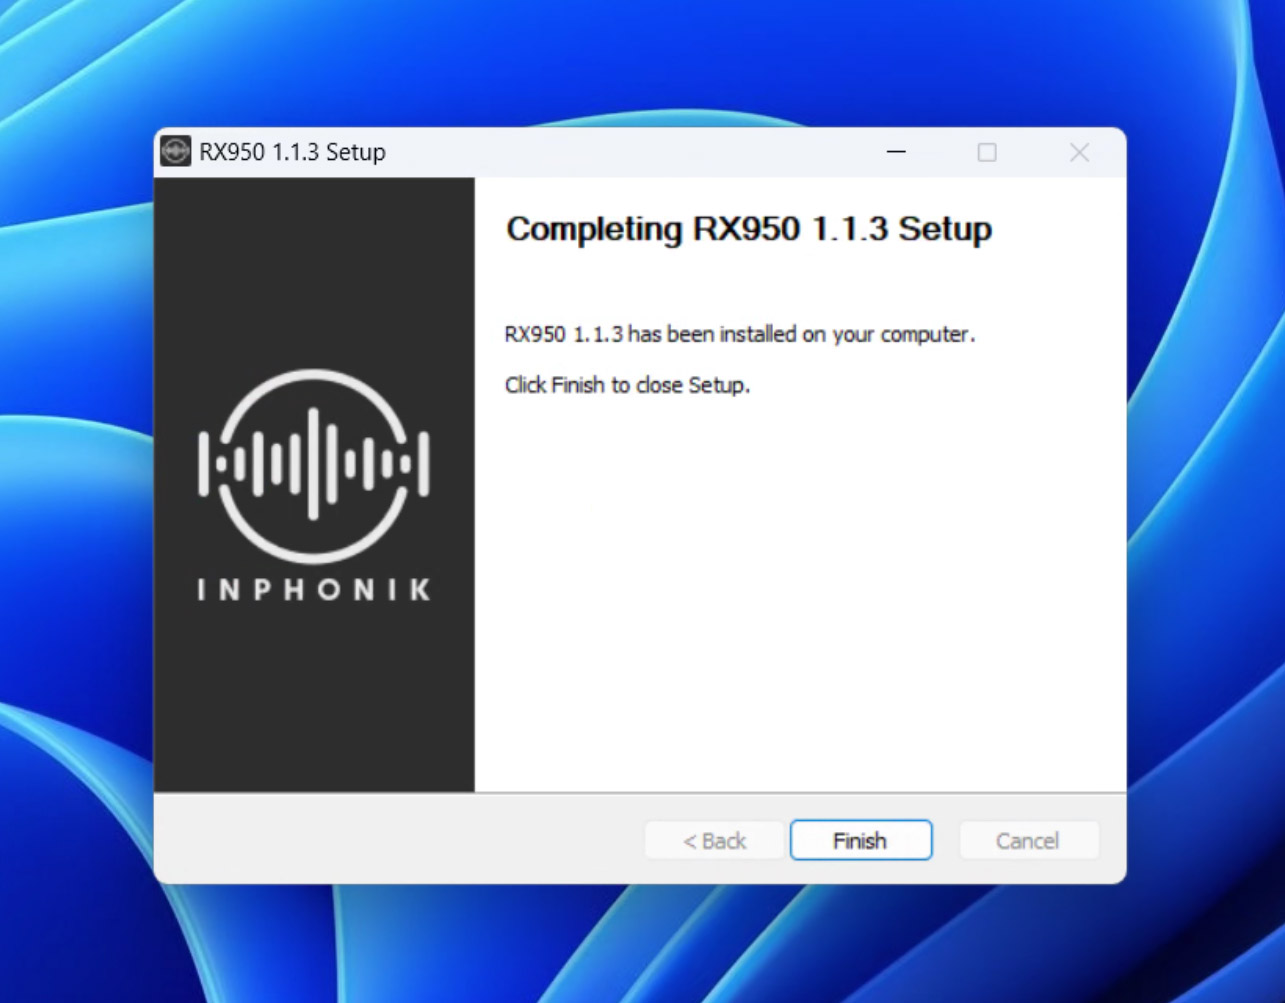
Congratulations! The plug-in has been installed.
Our products are audio plug-ins. It means that they can't be operated as standalone programs. You'll be able to use our plug-ins from a Digital Audio Workstation (DAW) program like Ableton Live, FL Studio, Pro Tools, Reaper, Studio One, Cubase, and many more! If the concept of DAWs and plug-ins is still obscure, please watch this tutorial video.
There's no activation process at all. Our products come with no copy protection whatsoever. If you get a serial number with your purchased product, it only serves as a licensing information. You can install your purchased product on as many machines as you like.
Your email address is used solely for sending your order confirmation. This email is important, please keep it as it contains your licensed download link that never expires. Also, when your product is updated, you receive an automated email notification as soon as it's published. We do not use your email for anything else. If you want to subscribe to our newsletter, please register here.
Plugin Boutique provide the RX950 and the RX1200 in their Beatport Studio subscription program. As a result, installing their Beatport Access software is required to activate these plug-ins. That’s a change from the DRM-free installers we sell on our website. If you feel more comfortable with our unrestricted versions, contact us and we’ll convert your PIB licenses to our DRM-free versions.
If you've bought an Inphonik product in Rack Extension from the Reason Shop, we're happy to send you a free license of the same product in VST/AU/AAX. Please get in touch with us and attach a screenshot of your proof of purchase at support@inphonik.com. Sadly, we can't do the other way around anymore. Reason users, please buy the RE first!
RX1200 12-bit Sampler Instrument FAQ
Please watch our RX1200 walkthrough video on YouTube.
If there's a display scale bug or you want to reset it to default state, delete the file “com.inphonik.RX1200.settings“ and restart your DAW.
To locate this file:
- Windows: press Windows+R and paste %APPDATA%\Inphonik
- macOS: on finder press ⇧⌘G and paste ~/Library/Application Support/Inphonik
- Unpack the Zip file on your computer
- Go to the RX1200 Settings and click "Open content folder"
- Drag the unpacked folder to the RX1200 content folder
This is a known issue related to Reaper. Please use the key combination Shift+Spacebar to insert a space into RX1200's text areas.
Please watch our video tutorials for using Chromatic mode and Multi audio outputs on our RX1200 Tutorials YouTube playlist. Also, please refer to the RX1200 user manual page 19.
General MIDI uses channel 10 for drums and percussions, but the RX1200 is working as a drum sampler with MIDI channel 1 only. You'll have to inspect the MIDI note parameters to change their MIDI channel value from 10 to 1.
- Windows: press Windows+R and paste %PROGRAMDATA%\Inphonik\RX1200\Collections\Factory Collection\Samples
- macOS: on finder press ⇧⌘G and paste /Library/Application Support/Inphonik/RX1200/Collections/Factory Collection/Samples


